
Rain or shine, car camping or backpacking, one universal truth remains: deciding how to clean dishes while camping is a necessity. When you’re out enjoying the great outdoors, a clean camp kitchen is crucial, not just for hygiene but also to prevent attracting wild animals.
Here are some simple tips and step-by-step instructions on how to keep your camping dishes (and campsite!) in clean and while making sure every camping trip is a mem experience.
Table of Contents
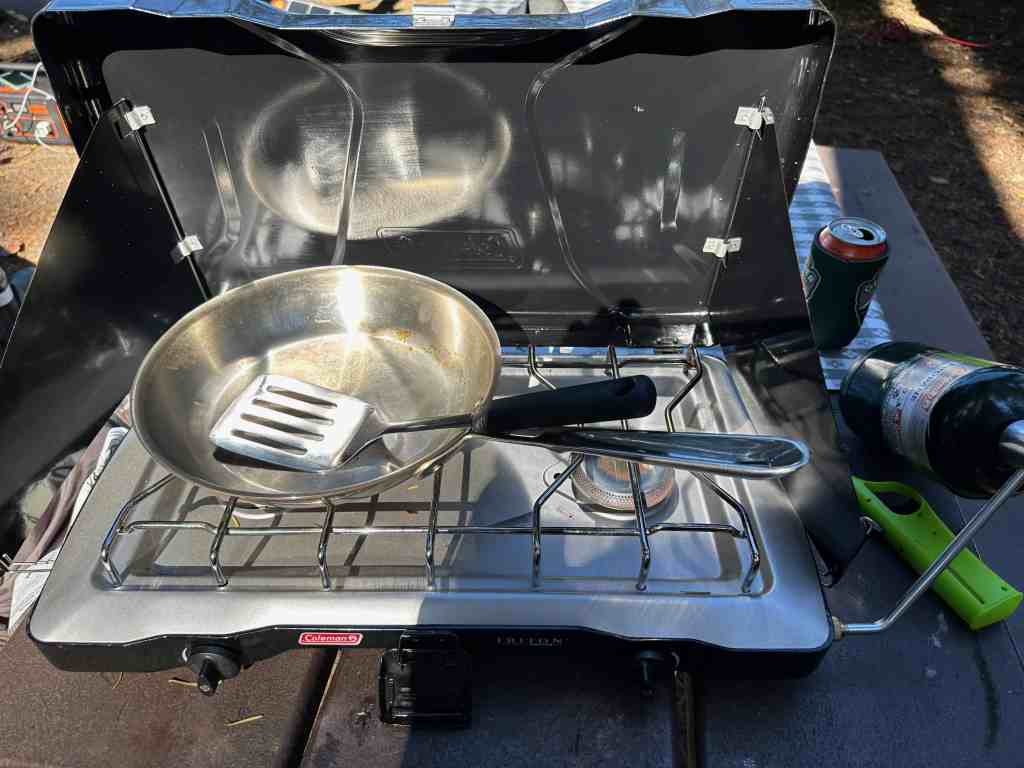
Gather Essentials: Bring The Right Tools
Start by assembling the following items:
- Biodegradable camp soap
- Scrub brush
- Collapsible sinks or wash basins (three if possible – one for washing, one for rinsing, and one for sanitizing)
- A bucket or large pot for collecting water
- Microfiber cloth or paper towel for drying
Fresh Water Is Key: Procure and Heat your Water while Camping
Proper camp dishwashing starts with procuring water. Collect clean water from a fresh water source, making sure to go at least 200 feet away to ensure you do not contaminate it. Heat the water on your camping stove will help in dissolving food residues effectively. Having both hot water and cold water ready can be a good option.
Let’s Get to Cleaning: Step-By-Step Guide
1. Scrape Off Excess Food from Dishes
Before your dirty dishes make it to the wash bin, scrape as much food bits off as you can with a utensil. Keep a plastic bag or a trash bag handy to properly dispose of your food waste, minimizing your environmental impact and adhering to leave no trace principles.
2. Setup Your Dishwashing Stations
For the best dishwashing process, setup three stations at your campsite: one for washing with warm-n-soapy water, one for rinsing with hot water, and the last with a little bit of cool water and a tablespoon of bleach to sanitize. If three basins aren’t feasible, two will work – just ensure you’re using biodegradable dish soap in your wash sink. Always begin with the cleanest dishes to keep your wash water cleaner for longer.
3. The Chore of Dishwashing Begins
Apply the common sense approach here: from cleanest to dirtiest – this is often cups, then cutlery, plates/bowls, and ending with grimy pots and pans. Ever thought of using a spray bottle filled with rinse water instead of a rinse sink? This limited water approach conserves resources when water supply is scarce.
4. Drying Out: End with a Dry Flourish
Let your camp dishes air-dry on a clean cloth or drying rack. If you’re in a hurry, you could use a clean paper towel or cloth to dry them.
5. Dispose The Dirty Dish Water Wisely: Don’t Forget The Principles
Take your leftover dirty dish water (also known as grey water or gray water) and food particles, move 200 feet away from your water source and disperse it over a large area. Burying is also another preferred method since it reduces the chances of attracting unwanted wild animals.
Quick Recalls
A few important pointers to remember:
- Never wash dishes or dispose of dirty dish water close to a water source.
- When in established campgrounds, use utility sinks if they’re available.
- Pay attention to the food residue to prevent bacteria growth on your dishes before the next meal.
- This routine applies to large groups as well, just ensure each member knows the best way to maintain cleanliness.
Following these simple tips will not only leave you with clean dishes ready for your next meal but also ensure a responsible and enjoyable camping trip. Outdoor adventures can be enjoyable and environmentally friendly. Preparing for your trip will make it more pleasant, and taking steps to minimize impact will keep the wilderness wild. So grab your favorite camp stove, gather up a picnic table—and get out there!
Growing up in the Pacific Northwest, we’ve always felt at home in the outdoors. We created Evergreen Adventures PNW to share our love of hiking, camping, and exploring, and to help others discover the best adventures this region has to offer. Along with trip guides and tips, we also enjoy diving into the science behind the landscapes—thanks to a background in Environmental Science—because understanding nature makes every adventure even more meaningful.