
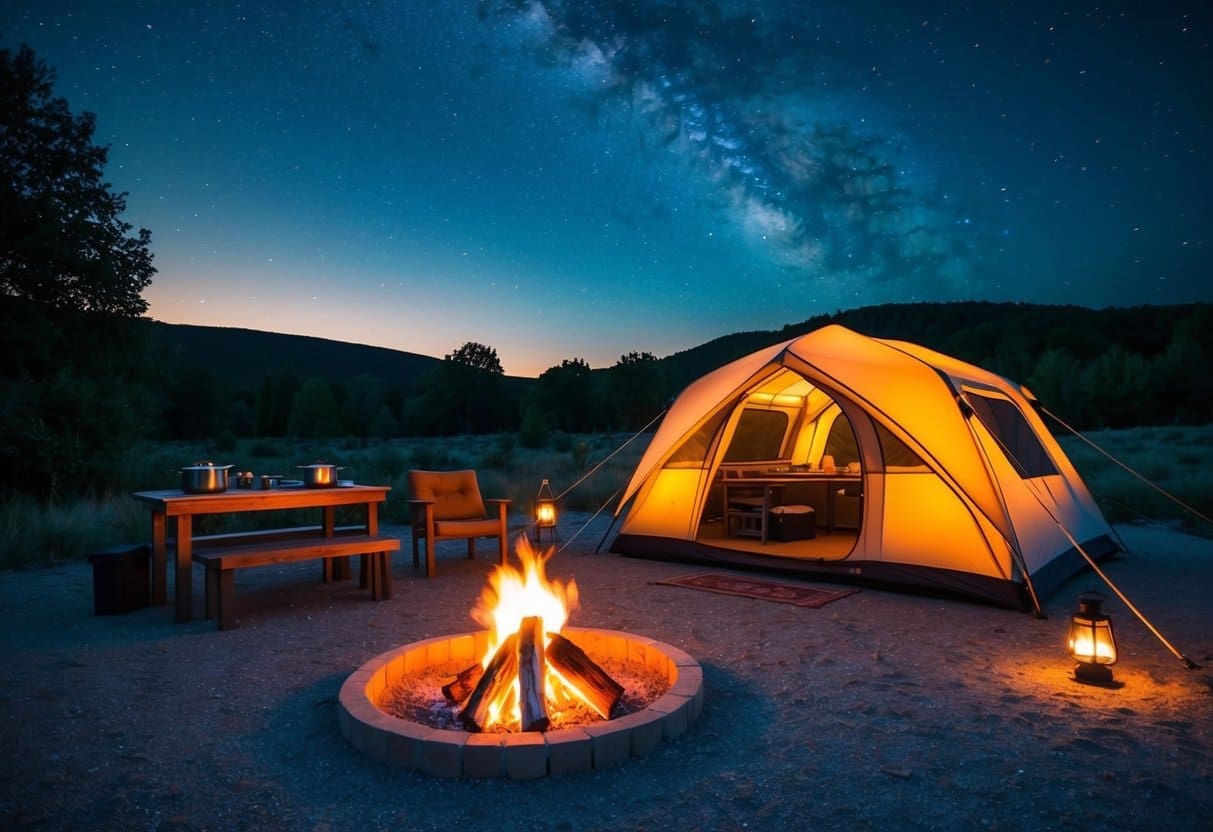
Camping can be an exciting escape into nature, where you gather around the campfire, sleep under the stars, and enjoy the peace and quiet that only the outdoors can offer. The magic of a camping trip often starts with how well you set up your campsite. Knowing some key hacks can transform your camping experience, making your setup quicker, more efficient, and more enjoyable.
As you prepare for your next outdoor adventure, consider how much easier things could be with a few clever ideas up your sleeve. Do you ever find yourself struggling with the tent poles or forgetting essential items? With the right tips, you’ll be ready to tackle any challenge and focus more on the fun parts of camping.
Invest in a Durable Tent
When setting up your perfect campsite, one of the most critical factors is the tent itself. Investing in a durable tent can make all the difference in your camping experience. A robust tent will stand up to wind, rain, and other weather conditions that could end your trip abruptly.
Look for tents made with high-quality materials like ripstop nylon or polyester. These materials are known for their toughness and can help prevent tears. Make sure the tent has reinforced seams for added strength and waterproof coatings that protect against moisture.
Consider the size of your tent as well. While it might be tempting to go with a cheaper option, a little more investment can mean the difference between comfort and cramped quarters. Sturdy tents come in a variety of sizes and shapes to fit your needs, whether you’re camping solo or with a group.
It’s essential to check the tent poles too. Aluminum poles are typically more durable than fiberglass ones. They’re less likely to break and usually lighter, making your tent easier to carry on hiking trips.
Don’t forget to test the tent before your trip. Set it up at home to ensure everything works as it should. This practice also helps you get familiar with the setup process, saving you time when you’re out in the wild.
Use a Ground Tarp
A ground tarp is a simple addition that can make camping much more comfortable. It sits between your tent and the ground to provide a layer of protection. This helps stop moisture, dirt, and sharp objects like rocks from causing trouble. Imagine waking up dry after a rainy night because you used a tarp!
Setting up your ground tarp doesn’t have to be tricky. First, choose a campsite that is dry and free from water flow paths. Lay your tarp out flat before setting up your tent. This creates a smooth, dry surface for sleeping and keeps you off the damp ground. Clearing away leaves and sticks gives an even better experience.
Remember, the tarp should be slightly smaller than your tent. If the tarp sticks out, it can collect water and defeat its own purpose. A little planning goes a long way in keeping you dry. You don’t want a puddle forming under your tent floor.
Many campers find that a ground tarp also helps protect their tent. It reduces wear on the tent floor and can extend its lifespan. When you’re packing up, just shake off the tarp, dry it, and you’re set for the next adventure. A little maintenance now means fewer problems later.
So, next time you head out, grab a ground tarp. It’s one of those small things that can make a big difference in your camping comfort. Don’t leave home without considering this handy item—it’s simple, affordable, and incredibly useful!
Pack a Quality Sleeping Bag
Packing a quality sleeping bag is an essential part of any camping trip. You want to ensure it’s both comfortable and easy to transport. Here’s how to do it right.
First, consider the weather. Look for a sleeping bag with the appropriate temperature rating. You don’t want to be too hot or too cold at night. For cooler climates, a sleeping bag with a lower temperature rating is best. In warmer areas, opt for a lighter bag.
Choose a sleeping bag that’s the right size. If it’s too big, it won’t keep you as warm. A bag that’s too small can be uncomfortable. Many sleeping bags come with features that allow you to adjust the size, like strings to shorten the length. It’s handy if you need to fit it for a child or someone shorter.
Once you have the right sleeping bag, packing it correctly is key. Start by stuffing it foot-end first into a stuff sack. This helps compress it efficiently. Get rid of air by squeezing and twisting as you go. Ensure your sleeping bag stays dry by putting it in a waterproof sack or lining your backpack with a trash bag.
If your bag is still not fitting as compactly as you’d like, try using a sleeping bag liner. Liners add warmth and can be used alone in hot weather. They’re also easier to clean and keep the sleeping bag fresh.
Packing a sleeping bag might seem simple, but following these hacks can ensure a comfortable and cozy night under the stars.
Bring a Reliable Cooler
When setting up the perfect campsite, having a reliable cooler is a must. It keeps your food fresh and your drinks cold. Without one, your trip could turn into a soggy, warm mess. Choose a cooler that’s big enough to hold everything you need but not so big that it becomes a burden to carry.
Consider using ice packs instead of just loose ice to prevent a watery mess. Layered ice packs help maintain even cooling and last longer. Some coolers come with handy compartments or you can DIY to keep things organized. Organization not only helps with keeping your items cold but cuts down on rummaging time.
Does your cooler have wheels? If not, adding trolley wheels can make moving it a lot easier, especially when the cooler is heavy. This is a popular DIY hack, and there are plenty of tutorials online to guide you.
Insulating your cooler’s lid can make a significant difference. You can use foam or a reflective sunshade to help keep in the cold. Every time you open the cooler, some cold air escapes, so keeping it cool as long as possible is key.
Think about bringing two coolers. Use one for drinks and one for food. This way, you don’t have to open the food cooler as much and can keep the contents colder, longer. Plus, it cuts down on searching time, which means less cold air loss.
Use LED Camping Lanterns
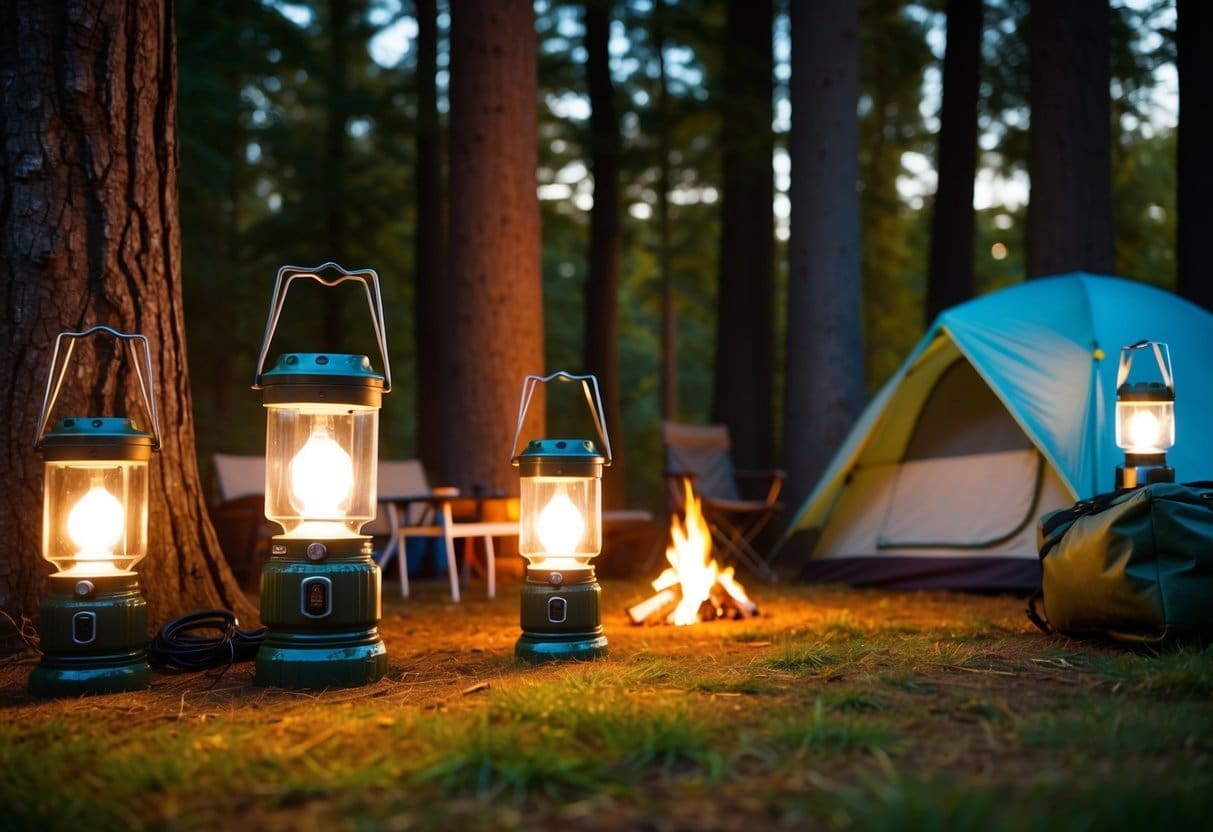
When you’re setting up your campsite, lighting is key. LED camping lanterns are a great choice for outdoor adventures.
Why LED? They’re energy-efficient and provide bright, reliable light. This means you can enjoy your camping trip without worrying about changing batteries constantly.
LED lanterns come in various brightness levels, from 25 lumens for a cozy tent light to 2000 lumens for lighting up a large area. Whether you’re cooking dinner or just want to relax with a book, there’s a setting for you.
LED camping lanterns are versatile and durable. They can withstand outdoor conditions, so a little rain won’t leave you in the dark.
Planning to be out in the wild for several days? Rechargeable LED lanterns are a practical solution. They save you from carrying extra batteries, and many can be charged with a solar panel.
Don’t worry about complicated setups either! Most LED lanterns are designed for easy use. They’re lightweight, compact, and often feature hooks or handles for hanging around your campsite.
Safety is a big plus with LED lanterns—no open flames, reducing the fire risk. They’re perfect if you want that cozy campsite feel without the hazards of traditional candles or gas lanterns.
Next time you pack for a camping trip, consider bringing an LED camping lantern. Not only do they brighten up your night, but they also make your outdoor experience more enjoyable.
Set up a kitchen station
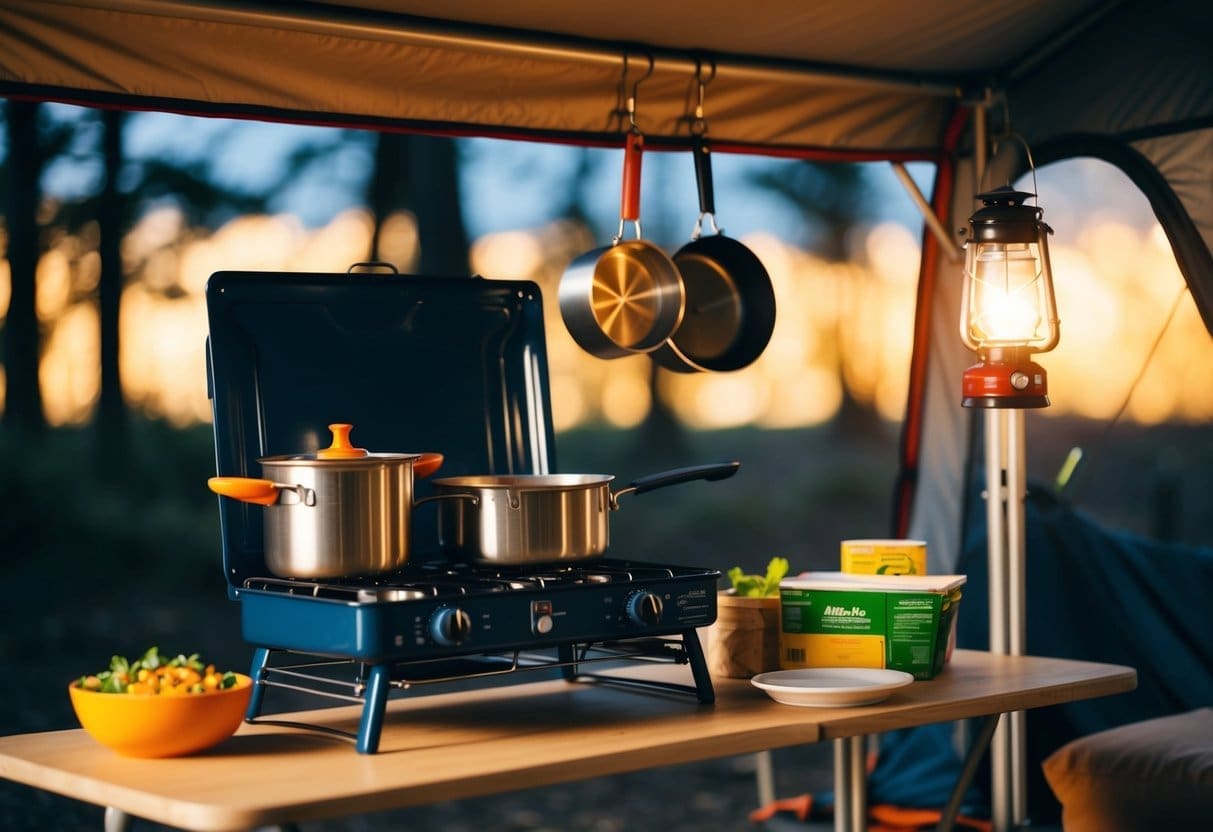
Ready to set up your camp kitchen? First, pick a spot away from your sleeping area. This helps keep smells and critters at bay. Look for a flat surface, maybe a picnic table or a large, sturdy rock. Make sure it’s safe and stable.
Gather your essential tools. A camp stove is a must-have. Lightweight and portable, it’s easy to bring along. Don’t forget a fuel canister. Pack your utensils, like spoons, spatulas, and knives. Keep them in a handy bag so nothing gets lost.
Bring a cutting board and a bowl. You’ll need these for all your chopping and mixing. A bowl can also help store prepped food. Move items out of the way to keep your space clear. This makes cooking smoother and faster.
Set up a wash station nearby. A jug with a spigot works well for running water. Tie it with a bungee cord to keep it steady. Add biodegradable soap and towels for easy cleanup. This setup is also great for washing hands and dishes.
Keep your food organized. Use bins or bags to hold your ingredients. Make sure perishables are in a cooler with ice packs to stay fresh. Label your items for quick access. Staying organized will save you time and hassle.
Lastly, ensure trash is managed. Use a dedicated bag or bin for waste. Keep it away from your kitchen to avoid attracting animals. Clean as you go to make packing up easier. Enjoy your cooking time and the great outdoors!
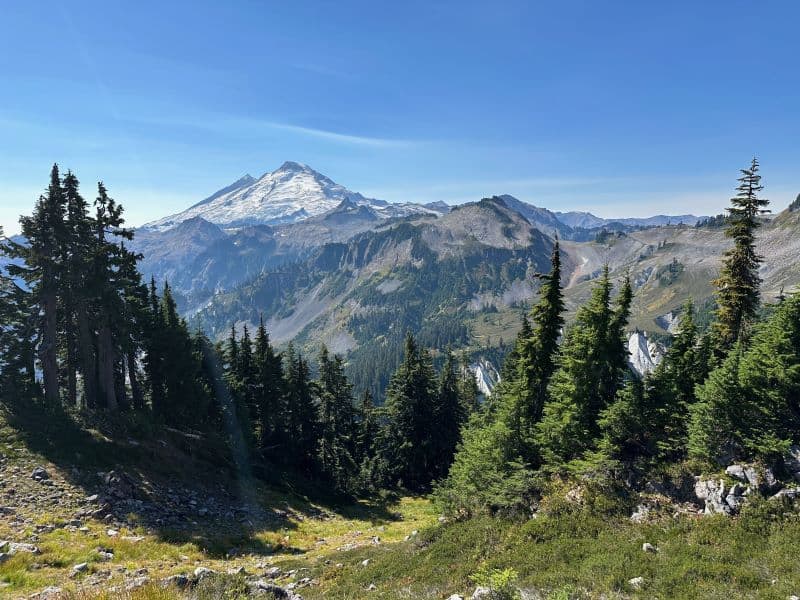
Choose a Campsite with a View
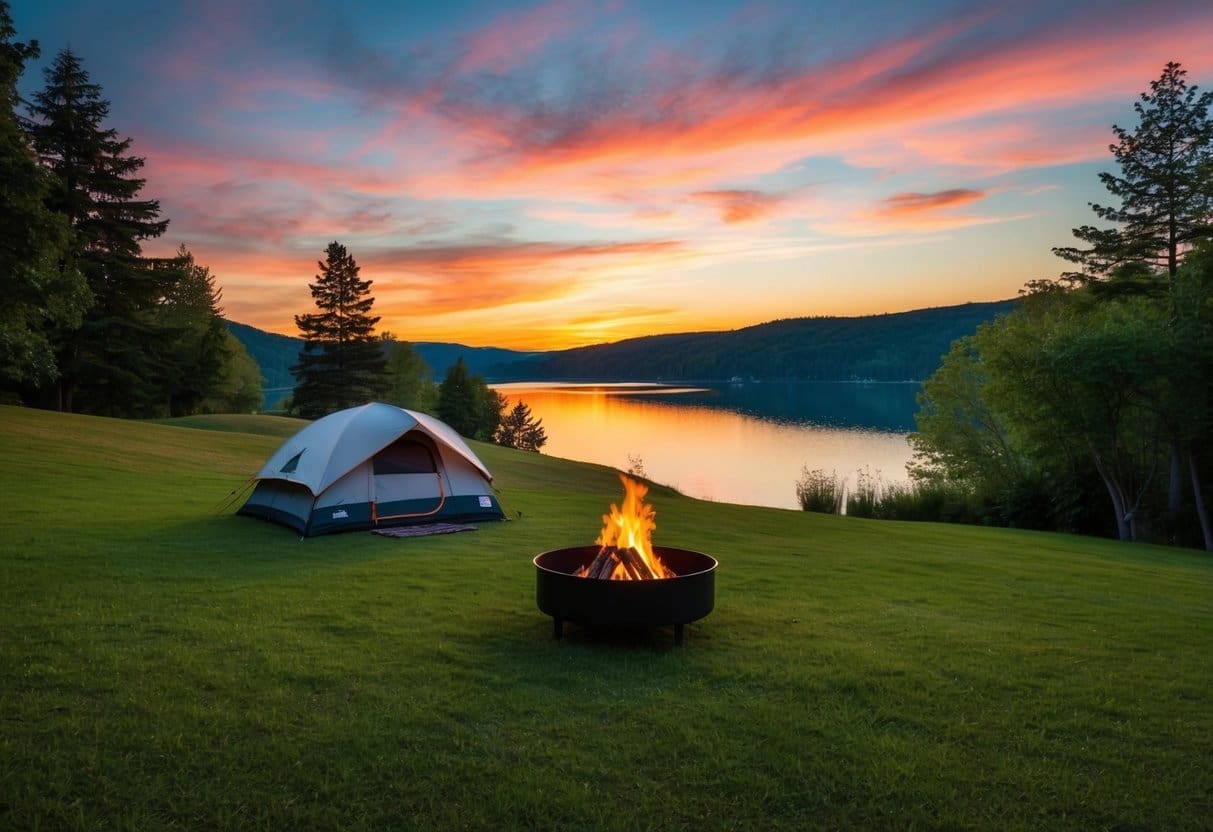
Picking the right spot for your campsite can change your whole outdoor experience. When you wake up to a beautiful view, it just feels amazing. Imagine drinking your morning coffee while gazing at mountains, lakes, or forests. It helps set the mood for a relaxing and enjoyable trip.
Think about what kind of view you’d like. Are you a fan of water? Look for a site near a lake or river. Mountains more your style? You’ll want a higher spot with a clear view of the peaks. Consider whether you’ll get both sunrise and sunset views for a full day of breathtaking scenery.
Safety is key, too. When you set up near water, make sure you are far enough to avoid rising water levels. Double-check for any dead branches overhead. No one wants a surprise visit from a falling tree.
Look for a level area to pitch your tent. This not only makes sleeping more comfortable but often pairs well with sweeping vistas. Gently sloped hills may offer stunning panoramic views.
Don’t be shy about scouting the area before settling in. Walk around to find a spot that checks all your boxes. A little exploration can lead to a surprising treasure of a view.
Your campsites are like personal hideaways. Picking a place with a view can make ordinary moments extraordinary. So take a breath, look around, and choose the view that speaks to you. It could turn a regular camping trip into something you’ll always remember.
Bring Biodegradable Soap
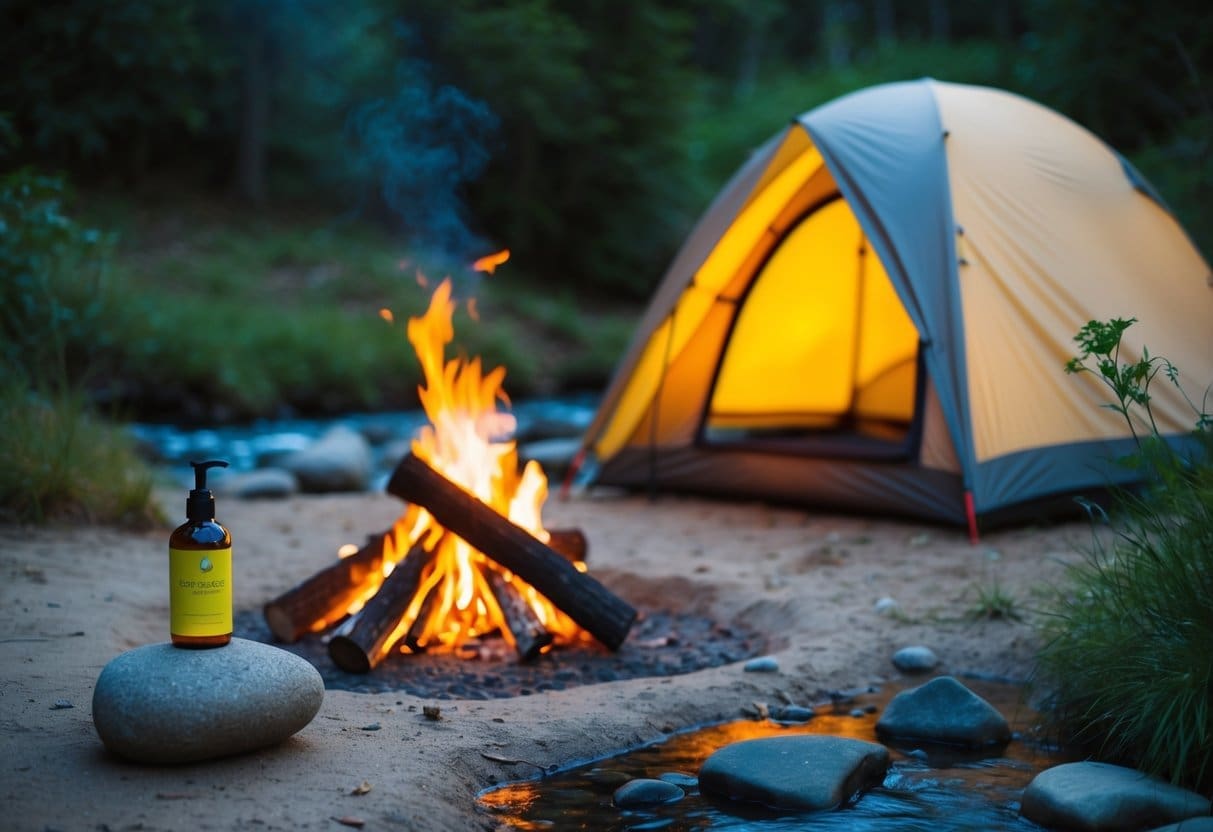
When you’re out camping, using biodegradable soap is a small step that makes a big difference. Regular soap isn’t designed to break down in nature, so it can harm plants and wildlife. Biodegradable soap, on the other hand, is made to decompose quickly, leaving no harmful chemicals behind.
Imagine you’re washing your dishes or hands by a beautiful stream. It feels good to know that your soap isn’t polluting the water. Using biodegradable soap means you can enjoy nature while keeping it safe. Plus, many parks require it to protect their ecosystems, so it’s a good habit to get into.
Using biodegradable soap is easy, but there are a few things to keep in mind. Always wash your dishes or yourself at least 200 feet away from streams or lakes. Even natural ingredients can disrupt aquatic life if they end up in the water directly.
If you’re wondering where to get biodegradable soap, most outdoor stores carry it. You can also find some online with options for all your camping needs. Whether you’re washing clothes, dishes, or your hands, there’s a soap that suits you.
Quick Tips for Using Biodegradable Soap:
- Always use it far from natural water sources.
- Rinse with minimal water to conserve resources.
- Dispose of waste water properly, scattering it over a wide area.
Bringing biodegradable soap is a simple way to be a responsible camper. As you enjoy the great outdoors, you’ll feel better knowing you’re helping to keep it pristine for others.
Use Collapsible Water Containers
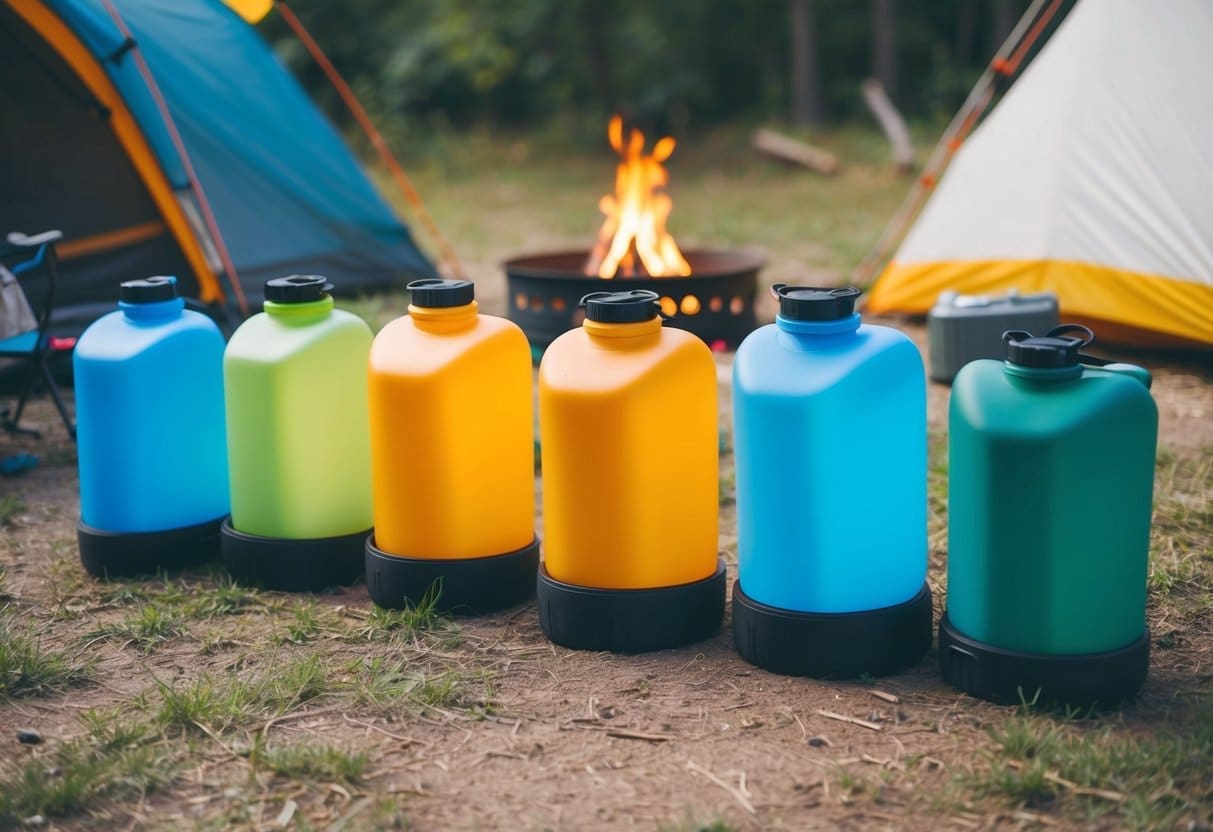
Keeping things light and making efficient use of space are key to a successful camping trip. Collapsible water containers are a great solution for this. They fold flat when not in use, so they don’t take up much room in your pack. Once you arrive at the campsite, simply fill them up, and they’re ready to go.
Imagine arriving at a sunny campsite. You’re thirsty, and the last thing you want is to lug around a heavy water jug the whole way. A collapsible water container is your best friend in this situation. Many of these handy containers can hold up to 2.6 gallons of water while remaining easy to carry once filled.
They’re not just for drinking water. You can set them up as a washing station by attaching a spigot or nozzle for quick handwashing or dishwashing. It makes maintaining hygiene at your campsite much easier and more convenient. It’s a small thing that can make your camping experience a lot more pleasant!
For those who love to cook while camping, having a collapsible water container means you have fresh water on hand for cooking and cleaning. No need to keep making trips back and forth to a water source. This gives you more time to relax and enjoy your surroundings.
When it’s time to move on to your next campsite, simply empty out and fold these containers back up. You’ll love how little space they take up in your car or backpack. It’s efficient, practical, and helps you focus on enjoying your camping adventure.
Pack Microfiber Towels
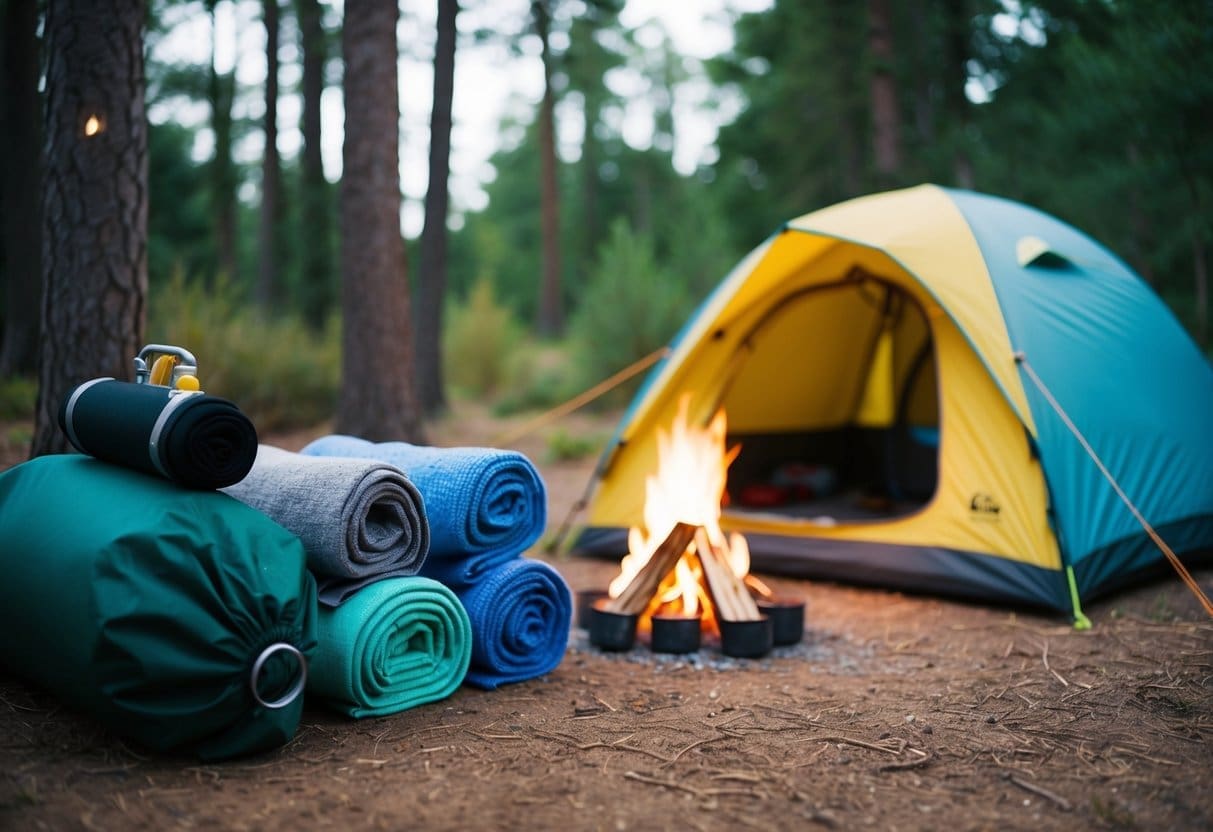
Microfiber towels are a smart addition to your camping gear. They are lightweight and can fit easily into your backpack without weighing you down.
These towels are also super absorbent, so they soak up water quickly, which is helpful when you’re drying off after a swim or wiping down gear.
Microfiber towels dry much faster than regular ones, reducing concerns about damp towels in your pack.
Another great aspect of microfiber towels is that they resist mildew. As you know, camping often means being in humid environments, so having a towel that stays fresh is a bonus.
You can find these towels in many sizes, from small hand towels to larger bath towels. Choose the size that fits your needs best.
And if you’re worried about price, they’re often available in affordable packs, like the 36-count pack you might find at popular warehouse stores.
Having a few microfiber towels on hand can help keep your camping experience smooth and comfortable.
Make sure to pack them in an easy-to-reach spot so you can grab them when needed.
Essential Gear Setup

Preparing for a camping trip involves selecting the best gear. This ensures you stay comfortable and enjoy nature to the fullest. Prioritizing a quality tent and efficient sleeping setup can significantly enhance your camping experience.
Choosing the Right Tent
Your tent is your home-away-from-home. Selecting the right one is key. First, match your tent to the season. A 3-season tent usually handles most conditions, but a 4-season tent can be better if you’re camping in winter or harsh weather.
Next, consider capacity. If you like some space, a tent that fits more people than your group can provide extra room for gear. Look for tents with a rainfly and a footprint to protect against wet ground and extend the tent’s life.
Make sure your tent is easy to set up and take down. Practice pitching it a few times. Some models have color-coded poles and clips making setup much faster, which is super handy if rain starts to fall!
Efficient Sleeping Arrangements
Sleeping well is crucial after a day of hiking or exploring. A sleeping bag suited to the climate is vital. Check the temperature rating. If you’re in a colder climate, go for a bag rated for lower temperatures.
Don’t forget about sleeping pads! They not only add comfort but also keep you insulated from the cold ground. Foam pads are a lightweight option, while inflatable pads offer more comfort for a bit more packing effort.
Pillows are important too. Consider inflatable ones or stuff a bag with clothes. This saves space but keeps you comfortable. An extra blanket or sleeping liner can add warmth and comfort for those chilly nights.
Site Selection and Layout
Choosing the right campsite and organizing it effectively are key steps to ensure a smooth and enjoyable camping experience. These decisions impact your comfort, safety, and efficiency during your stay.
Assessing Terrain and Ground Conditions
Start by examining the ground where you plan to set up camp. Look for flat terrain, as this provides a stable area for your tent. If you can, choose a spot that is slightly elevated. This helps prevent water pooling under your tent if it rains.
Avoid areas with rocks, roots, or uneven ground. These can cause discomfort when sleeping. Pay attention to the direction of the wind, especially if your camp includes a fire pit or cooking area. A forested area can offer natural windbreaks, providing additional comfort.
Consider the proximity to water. While camping near a water source can be convenient, ensure you’re far enough away to avoid flooding and mosquitoes. As a rule, camping at least 200 feet from water is recommended for safety and preservation of natural resources.
Organizing Your Campsite
Once you have selected the perfect spot, think about how to organize your campsite efficiently. Designate specific areas for sleeping, cooking, and relaxing. This organization helps keep your camp tidy and ensures you can find items quickly.
Keep your tent area clear of food and scented items to avoid attracting wildlife. Use a table or a tarp to create a defined cooking area. Make sure your cooking setup is downwind from your sleeping area to keep fumes away.
Store items in a secure place when not in use. Hanging a bag from a tree can keep certain items safe and out of the way. A well-thought-out layout makes camp life more enjoyable and provides a practical setup for daily activities.
Frequently Asked Questions
Choosing the right campsite and preparing for weather changes are crucial. You need to bring essential items and maintain a minimal environmental impact to ensure a comfortable and responsible camping experience.
What are the essential items I should bring to ensure my campsite setup is efficient and comfortable?
Start with a durable tent to protect against the elements. Use a ground tarp to keep moisture out. A quality sleeping bag provides warmth. A reliable cooler keeps your food fresh, and LED camping lanterns light up your space without draining power quickly.
Can you give me some tips on selecting the perfect location for my camp to optimize safety and convenience?
Look for a level area free of hazards like dead trees and rocks. Make sure it’s not prone to flooding if it rains. Proximity to water is useful, but too close means bugs. Check for signs of animal activity and stick to marked areas if you’re in a managed park.
How do I effectively plan for different weather conditions when setting up my camping space?
Pack for all scenarios: waterproof gear for rain, extra blankets for cold nights, and light clothing for sunny days. Monitor forecasts but be ready for unexpected shifts. Setting a windbreak using natural barriers like trees or rocks can shield you from strong gusts.
What’s the best way to maintain a low impact on the environment while setting up and enjoying my campsite?
Stick to existing campsites and trails to avoid disturbing nature. Use biodegradable soaps and carry out all trash. Minimize campfire size or use a camp stove, and ensure fires are completely out before you leave.
Could you suggest a step-by-step approach to setting up my tent to avoid common mistakes?
- Choose a location that’s flat and clear of debris.
- Lay a tarp to protect your tent’s bottom.
- Assemble the tent poles and attach them securely.
- Stake down the tent carefully, starting from corners.
- Add the rainfly, and check tension regularly as weather changes.
What techniques can I use to efficiently organize my campsite to keep it tidy and operational at all times?
Create separate areas for cooking, sleeping, and activities.
Use storage bins or bags to keep food and gear organized.
Clean up regularly to prevent clutter.
Hanging a trash bag from a tree makes it easy to dispose of waste and keeps critters away.
Growing up in the Pacific Northwest, we’ve always felt at home in the outdoors. We created Evergreen Adventures PNW to share our love of hiking, camping, and exploring, and to help others discover the best adventures this region has to offer. Along with trip guides and tips, we also enjoy diving into the science behind the landscapes—thanks to a background in Environmental Science—because understanding nature makes every adventure even more meaningful.